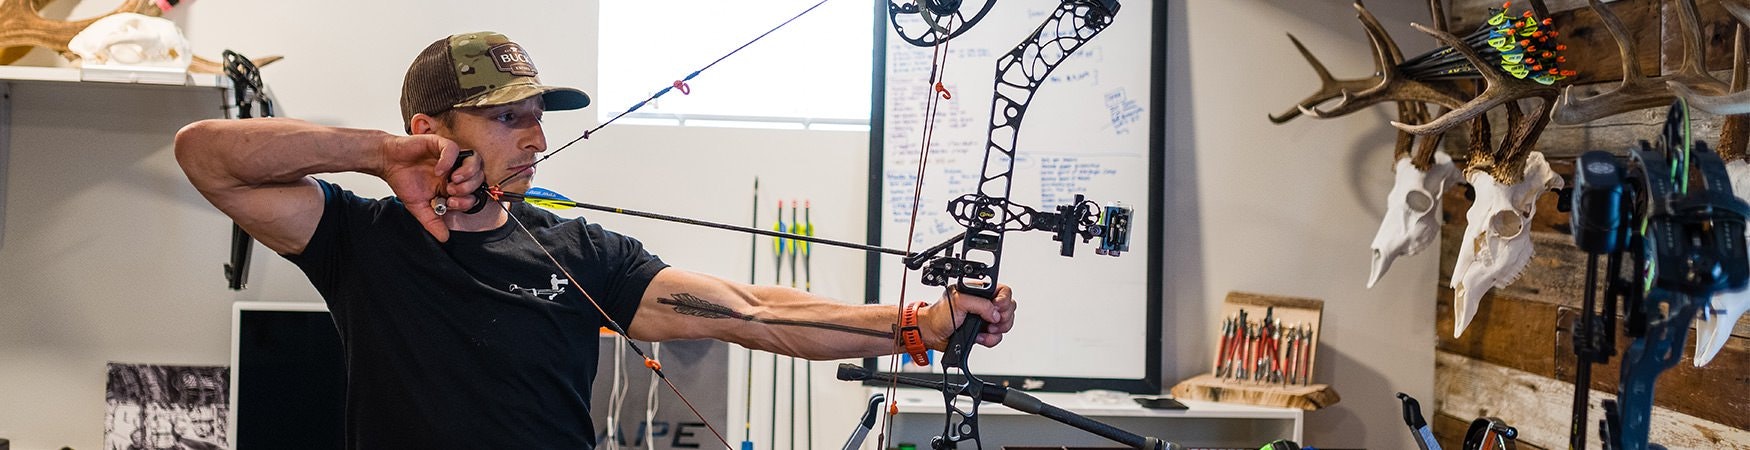
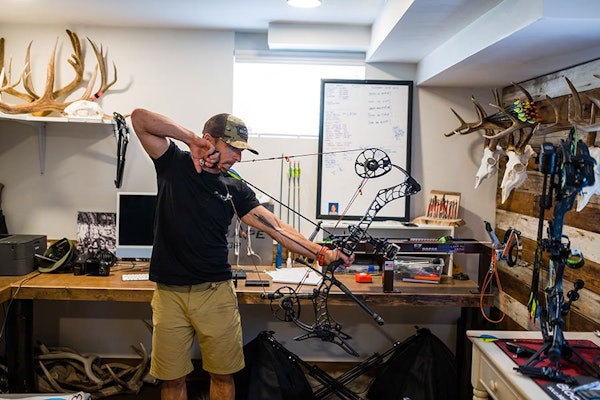
Buck Knives ambassador Dan Staton has built a career and a lifestyle around helping new hunters flatten the steep learning curve associated with bowhunting. The creator behind Elkshape, Staton lives and breathes elk hunting and is well-known in the industry for his tinkering, precision, and preparation. “It’s just like Murphy’s Law,” he says. “Anything that can go wrong will go wrong… the goal is to mitigate the number of things that can ruin a hunt.”
With seasons just around the corner, you’ve been shooting your bow all summer in preparation for opening day. You’ve built your arrows and refined your skills, but there are still a few tweaks to make before that first early morning. Staton offers up his checklist for making sure your bow is ready to go, and for side-stepping inevitable gear problems so you don’t miss a day in the field.
Staton lives by the phrase “always be tinkering,” but if you’re new to bowhunting, he suggests tackling the low-hanging fruit first, and chipping away at the rest. “There will always be a certain amount of human error in bowhunting, but the goal is to mitigate those errors.”

Mark your measurements
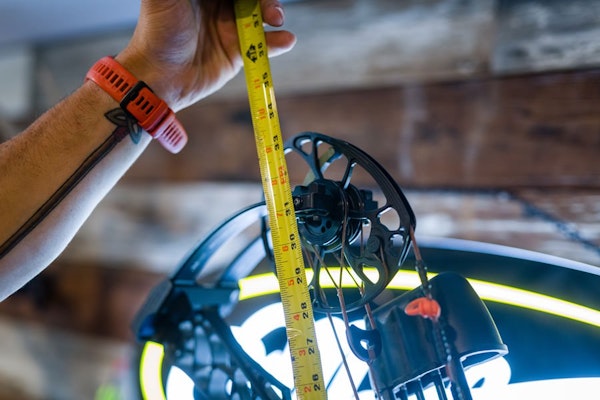
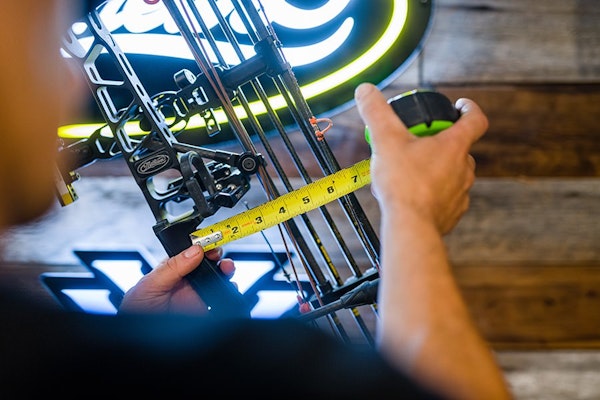
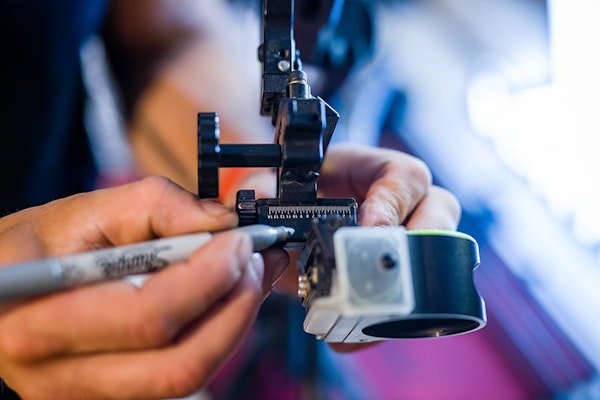
You might have your bow set up perfectly, but a short amount of time in a hot car, or jostling on your backpack can alter those precise measurements you’ve been dialing in all summer. “Everyone should own a silver sharpie,” says Staton. Just before the season begins, sit down and mark everything on the bow that can move with reference marks so you can quickly and accurately correct them from the field.
Measure the ATA (axle to axle) and brace height and write those measurements down; these aren’t things that you can necessarily adjust yourself if needed, but they can indicate if something isn’t correct.
Check your strings
Your strings are the heartbeat of your bow, so this should be one of the first things on your list. If your strings are compromised in any way, swap them out. The best thing you can do is invest in a good set of custom strings, replace them every year, and use the old ones as backups.
“I buy natural colored strings that don’t have extra dye in them, and I don’t wax them. The added wax can make them more susceptible to heat and dust—I just replace my strings when I start to see wear.”
Check your center shot
Shoot through paper and check your broadhead flight against your field points to be sure nothing has slipped throughout the summer. Mark your windage and elevation with the Sharpie on your rest.
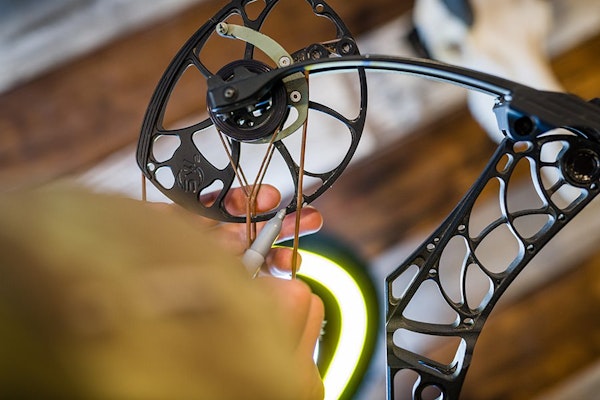
Check your timing
As you draw your bow, your cams should rotate in unison since their timing affects arrow flight and accuracy. Most bows have marks on the cams to ensure correct timing.
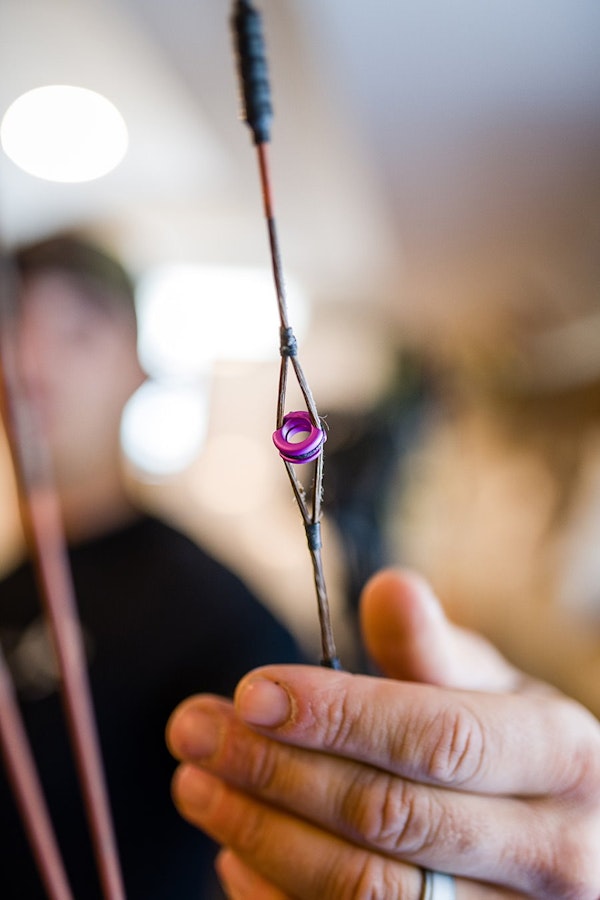
Check your peep
Make sure your peep is tied in properly without a twist.
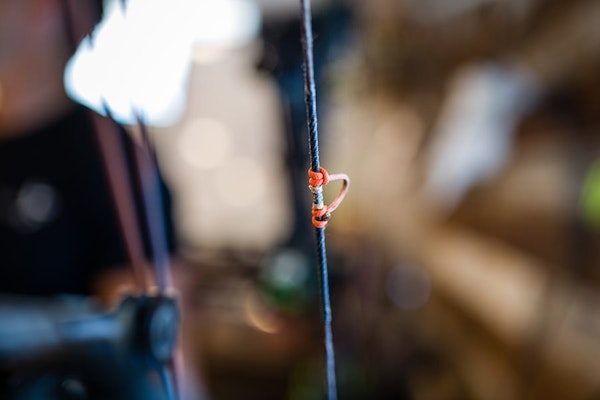
Check your D-Loop
Feel for wear and do the same with the knots holding it on the string.
Check your sight’s third axis
If you’ve just been shooting at the local range or in your backyard, the third axis is easy to forget about. In the field, though, you’ll face shots at steep angles. If your third axis isn’t right, you’ll miss left or right.
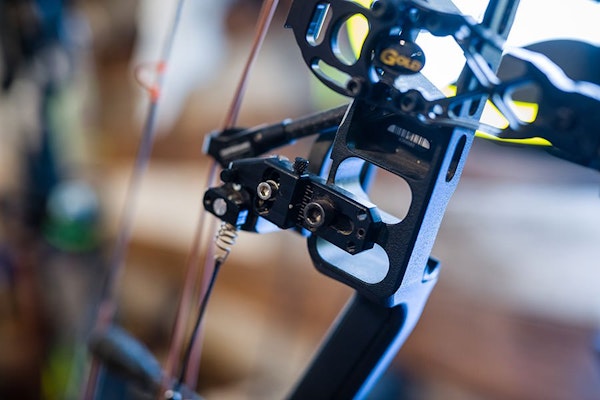
Tighten your sight
Check every bolt to make sure nothing is loose. Mark the windage and elevation with the Sharpie. If you bump your sight in the field, you’ll be able to tell right away if it’s in the correct position or not.

Check your broadheads
As a general rule, only arrows that have been shot with broadheads should go into the field. Inspect the nock on each arrow. Even a little nick in your nock can ruin your shot because the nock is where all of the energy is pushed out of the limbs and into the arrow. Spin test every arrow. Spin each one slowly and watch the tip of your broadheads to make sure they spin perfectly straight.

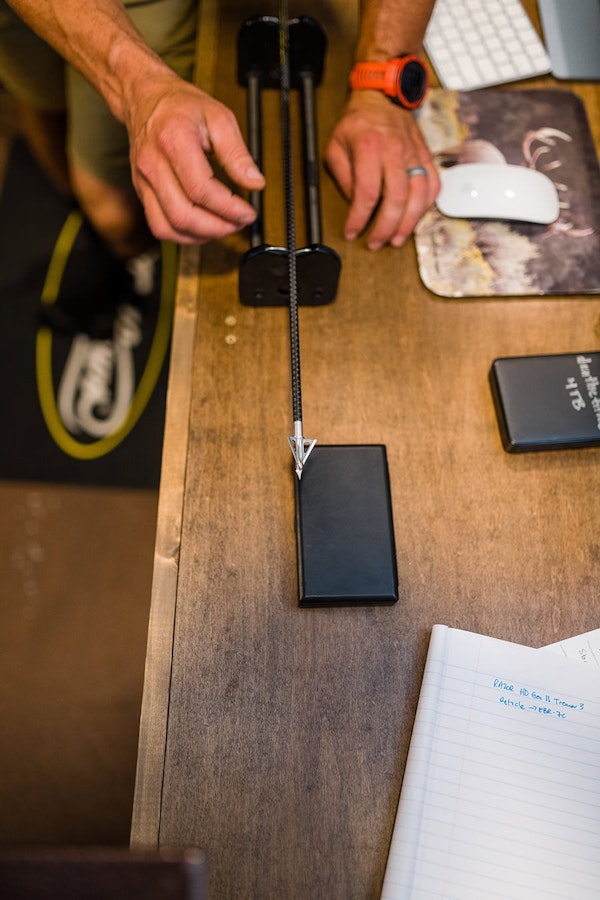
It’s easy to talk about arrows all day, but to keep it simple, Staton recommends a three-blade broadhead with a chiseled tip. “I’m not as concerned about weight as with the trajectory and speed of the arrows. I use the three-blades because they don’t deflect when they hit an animal, and I can expect them to go in and out in the same line.”
Carry Backups
Always have a backup bow. Leave everything on your old bow set up perfectly and ready to go in case you need to swap it out in the field. “A backup bow is my insurance policy,” says Staton.
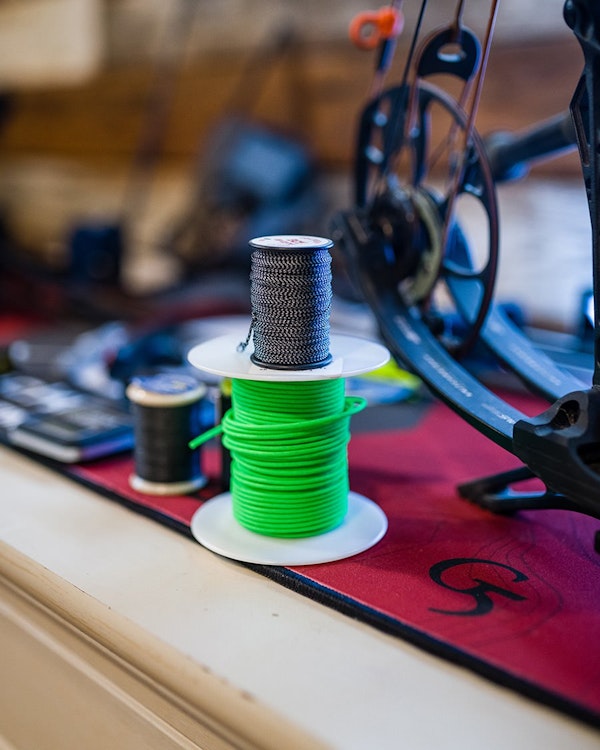
If you can’t afford to keep a backup bow, keep additional backup pieces along with your bow repair kit on hand. This should include extra serving, a backup release, D-Loop cord, and factory strings that have been shot in.
Many of the little problems that can derail a whole day of hunting can be avoided or quickly fixed if you show up prepared and anticipate the issues before they happen. There are millions of different ways to do things, and everyone in the industry has their own opinions. Staton’s advice is to find your sweet spot.
“What someone else tells you might work great for them, but depending on your ergonomics, experience, and the species you’re hunting, that might look a little different for you. Take your time figuring out what works best for you, and control as many of the controllables as you can. Elk hunting is finite. You only get so many Septembers in your lifetime, so make them count.”